
Trampoline Enclosure – Setting Up and Assembling
10 Mins Read
Last updated on October 17, 2025
ACON trampoline is a fun way to boost up the activity of kids of all ages, but there are some things you need to take into consideration. One of them is safety and, in particular the trampoline enclosure Learn more about the enclosure types and how to set it up in our blog.
Whether you’ve already got your trampoline or are considering investing in one, it’s highly recommended you add a trampoline enclosure to the shopping list. Made of a nylon net material, they fit on top of the trampoline and provide an extra safety measure.
Acon’s standard and premium enclosures for round trampolines are fitted with a zip opening, ensuring that anyone bouncing is completely safe all the way round the trampoline.
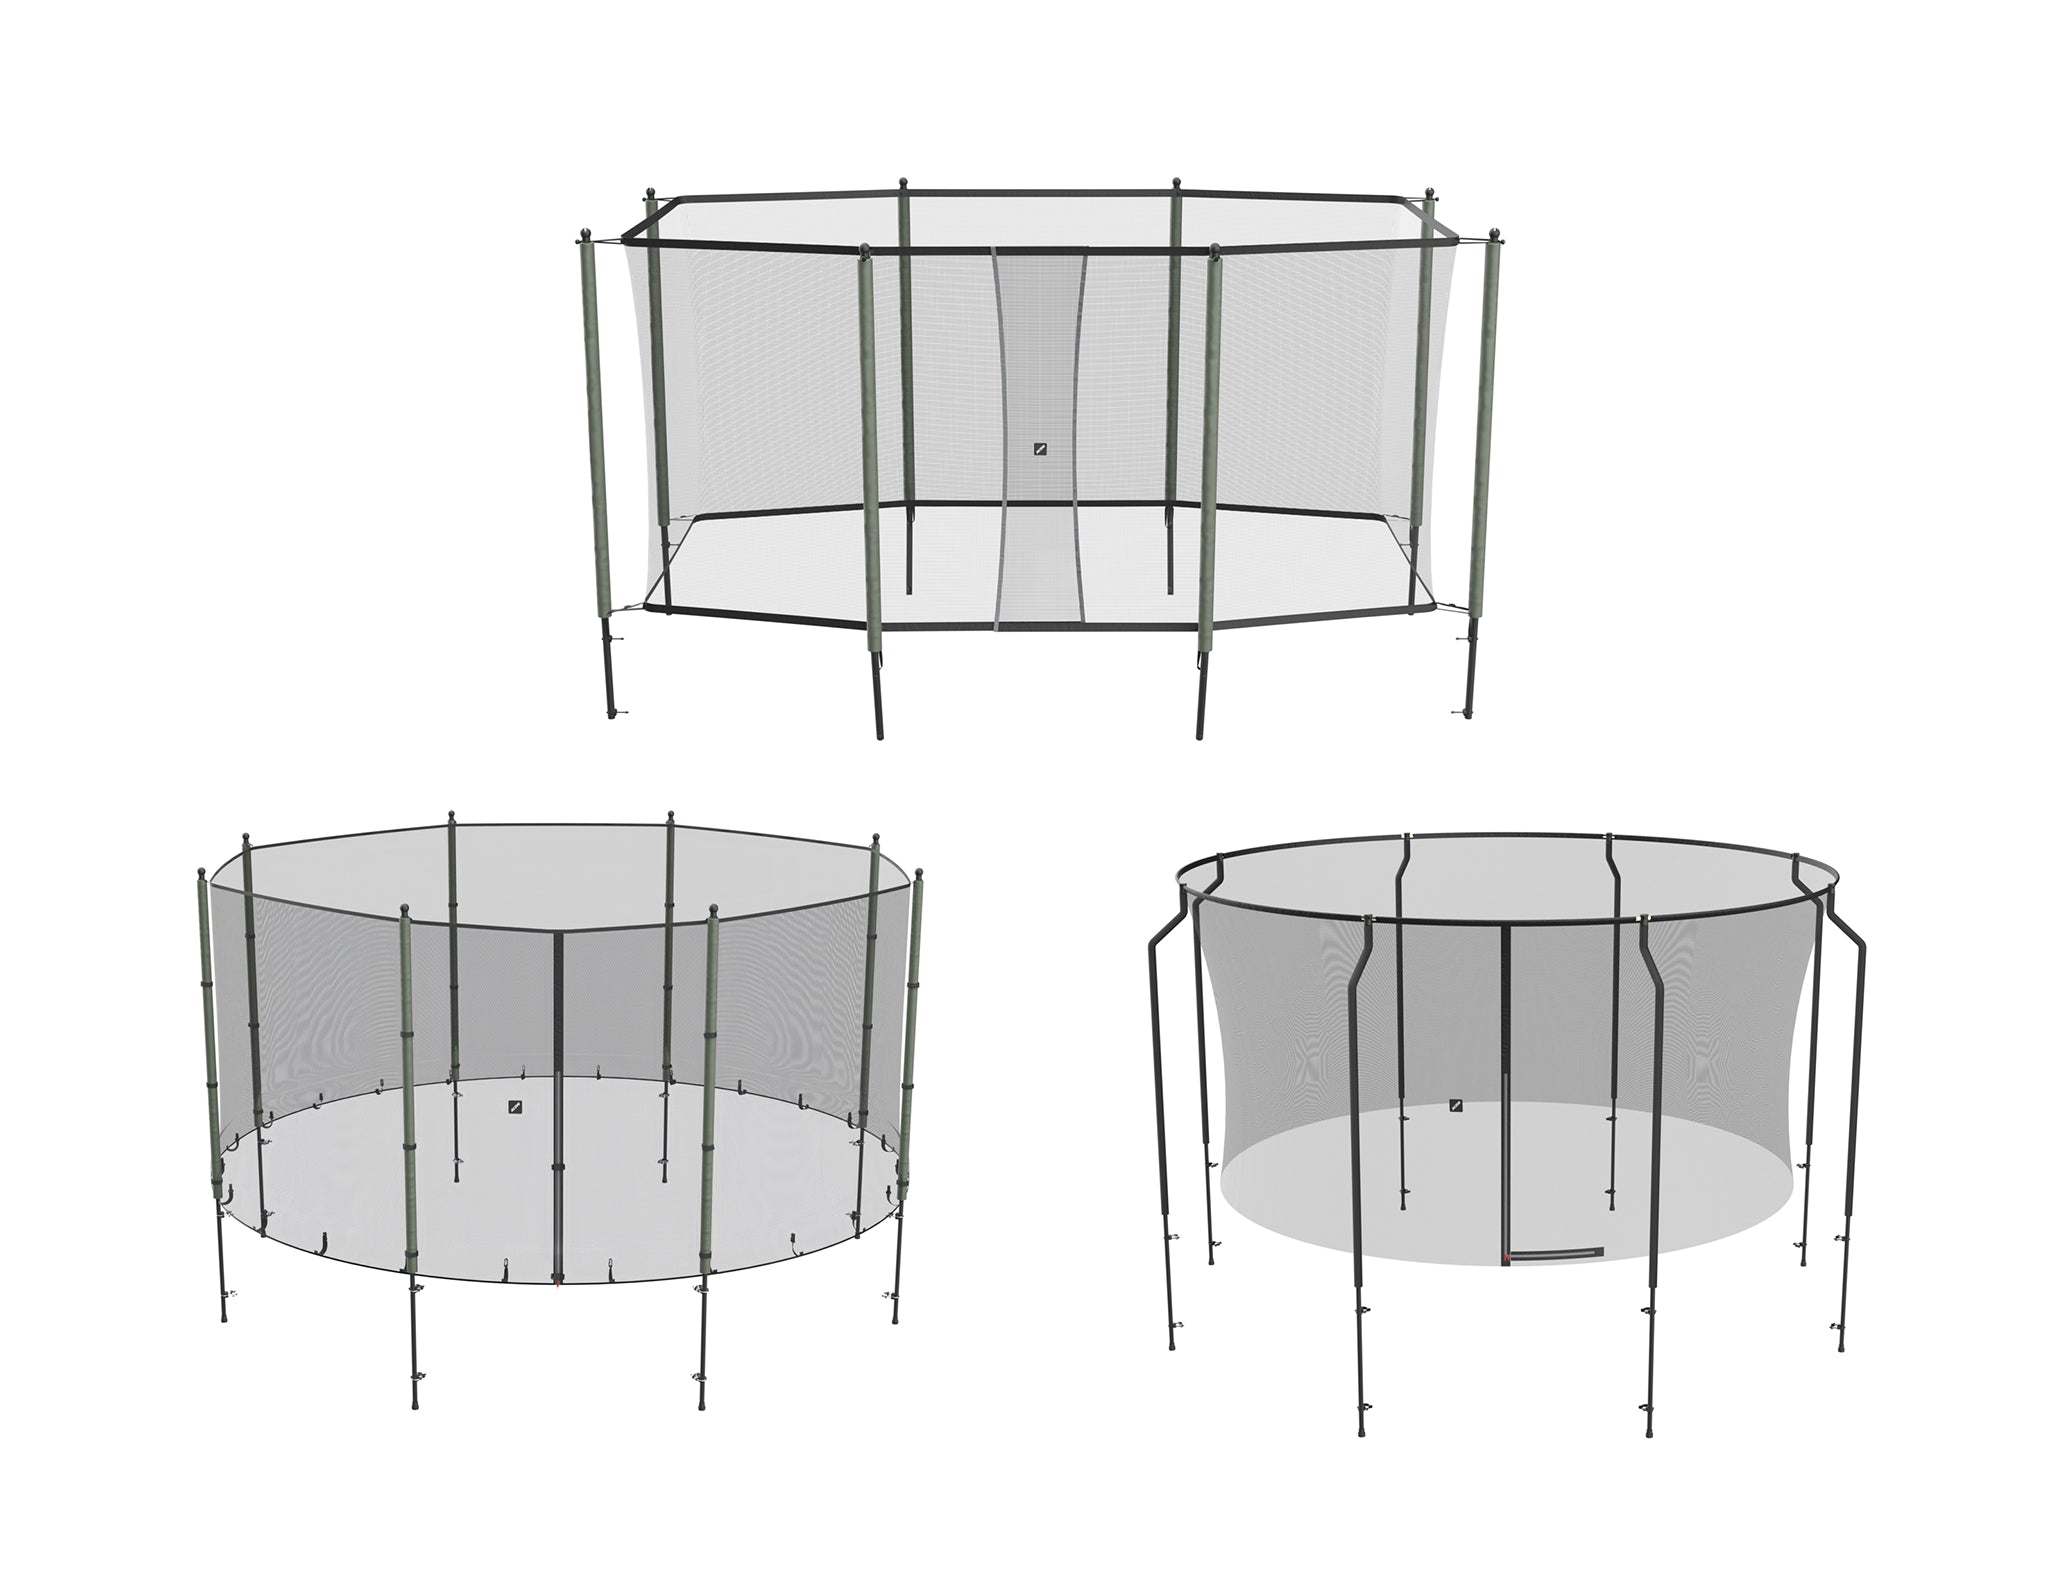
Trampoline enclosure types
Acon’s trampoline enclosures are lightweight, made from nylon. There are three types of trampoline enclosure offered in all trampoline sizes by Acon – the standard, the premium and the enclosures for our rectangular models.
The standard round enclosure fits around the outside of the safety pads and springs. While they are designed for ACON AIR trampolines, they also fit to most round trampolines of sizes 10ft – 15ft that have the same number of legs as ACON AIR trampolines have. When it comes to the ACON Premium enclosure, the same rule of thumb applies for 12ft – 15ft trampoline enclosure models.
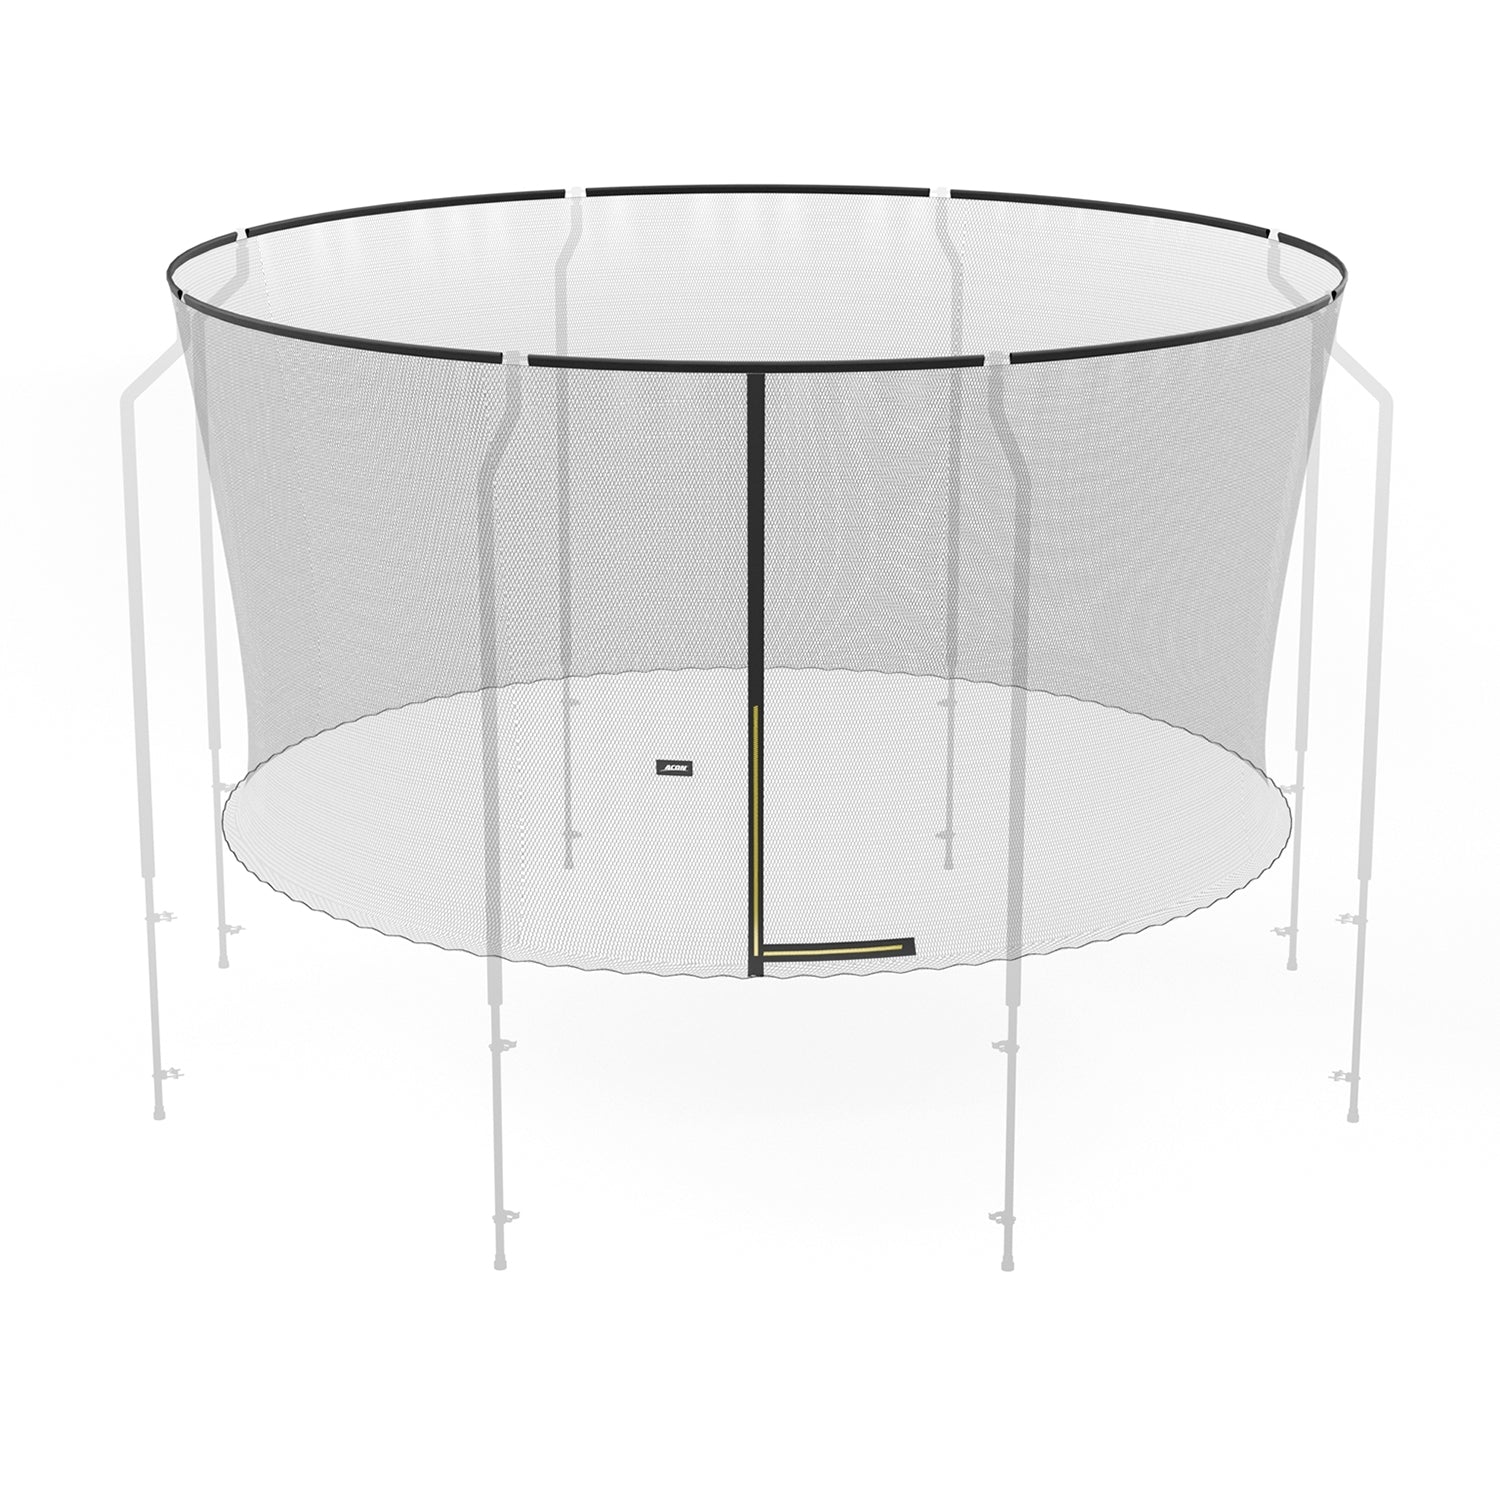
Unlike the standard round model, the premium round enclosure sits inside the safety pad and springs, i.e. around the actual mat. Available in four different sizes, the padded enclosure poles hold the net in place and secure it to the trampoline.
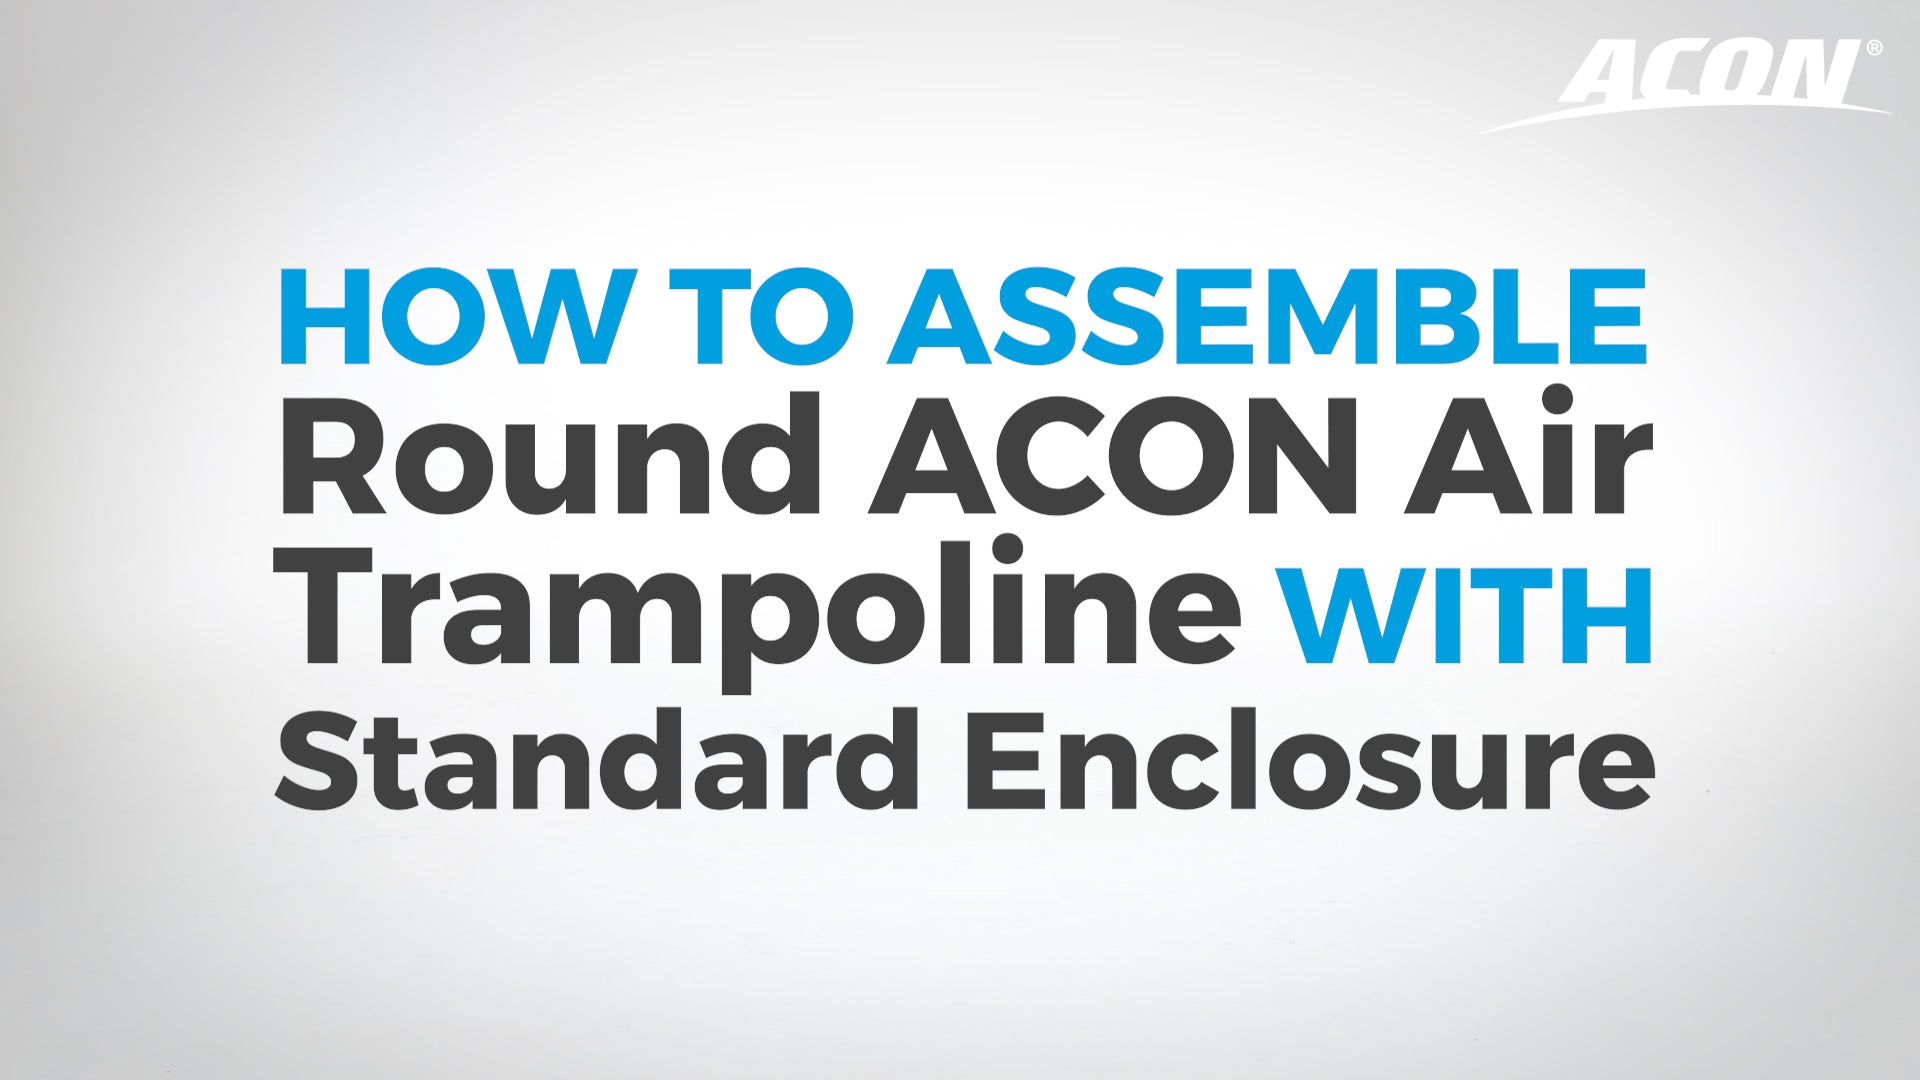
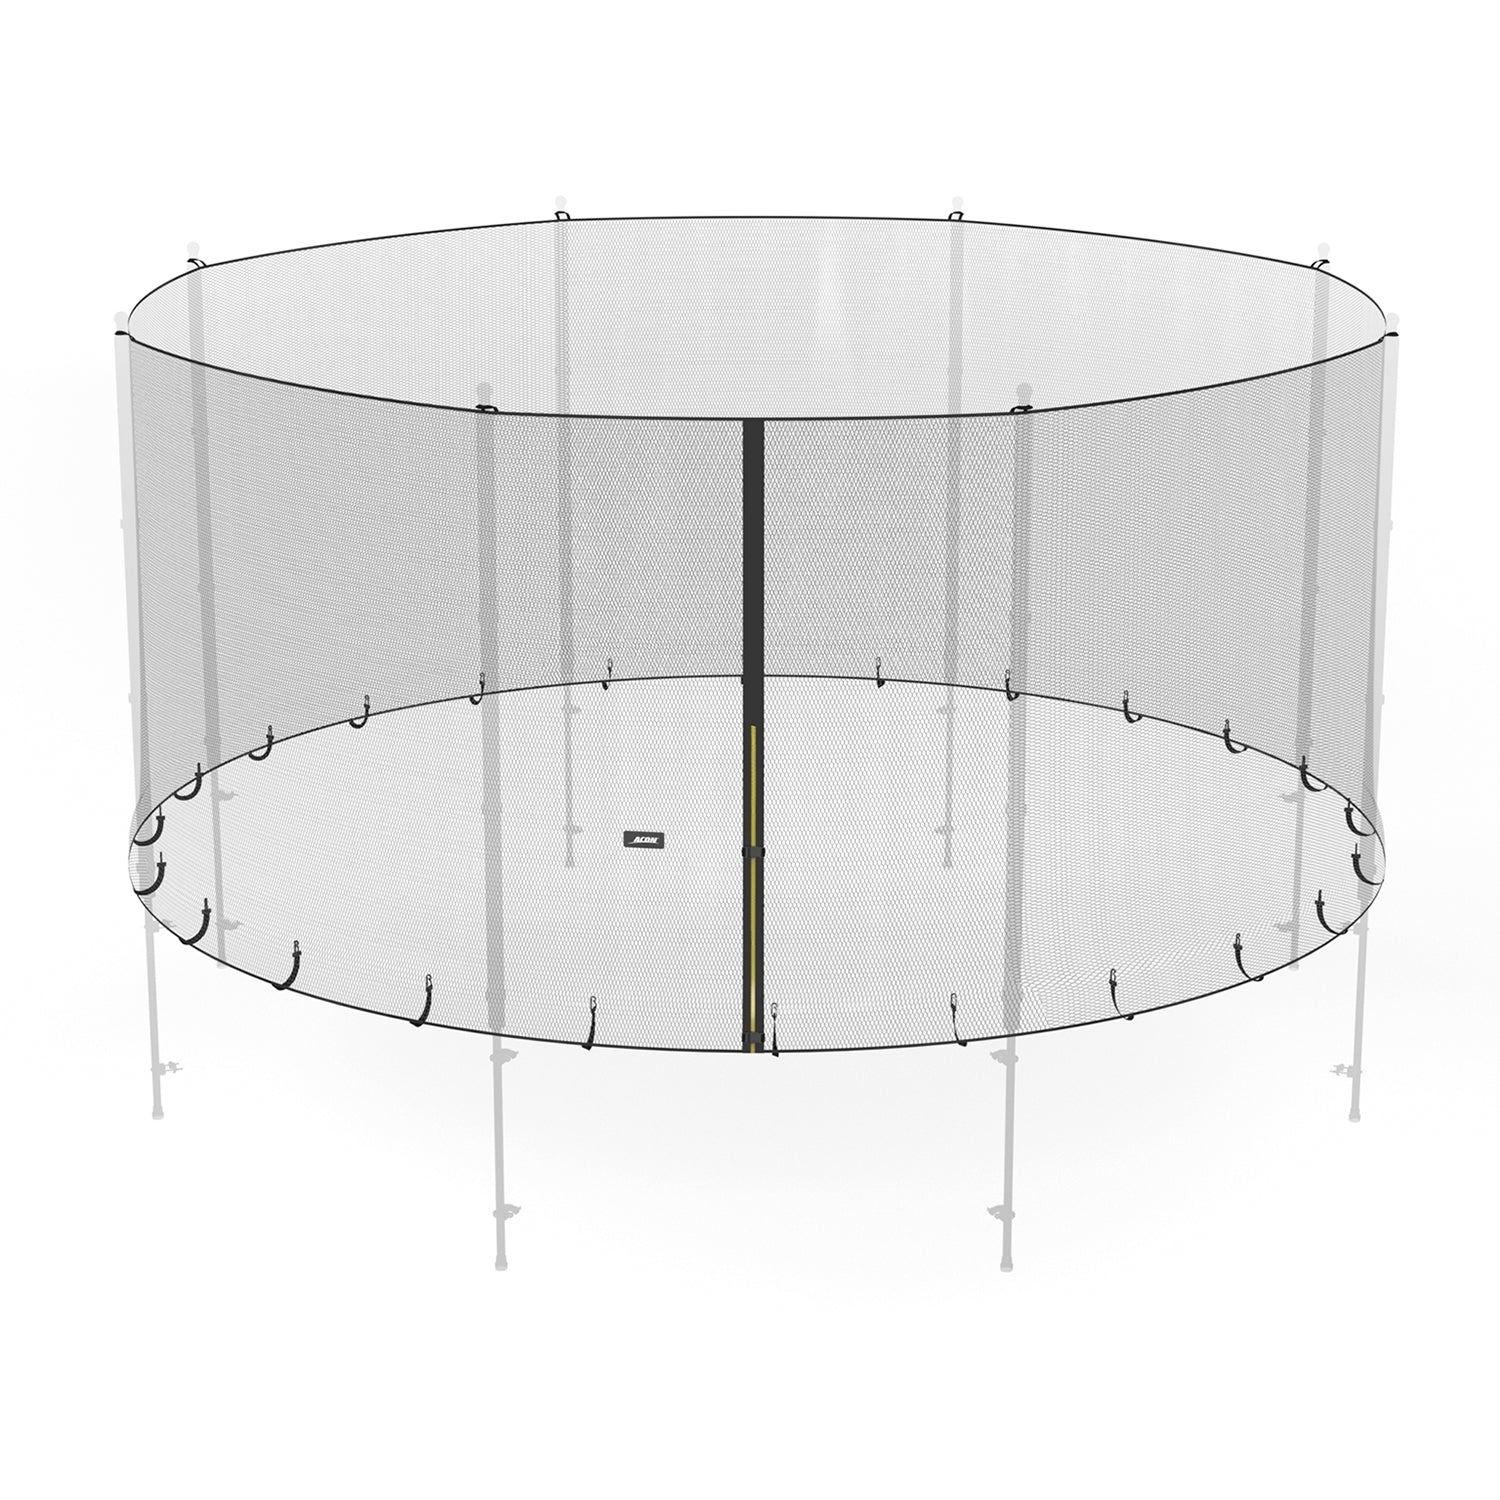
Standard trampoline enclosure
Acon’s popularstandard trampoline enclosure, which sits outside the safety pads and springs, is simple to assemble but you will probably need two people. The nylon netting is attached to the trampoline using eight poles, ten poles for the 15ft enclosure, which are secured in place.
Here’s how to assemble the standard enclosure:
- Check that you have all the necessary parts. If any are missing, contact Acon’s customer support within 3 days of the discovery of the error.
- Next, you will need to assemble the enclosure’s poles. Take the pole with two evenly sized ends. Put the foam first and then the cap to the end of the pole without any holes.
- Push the pole sleeve over the cap and onto the pole. Note that the fit is tight on purpose so that the sleeve and net stay neatly in place.
- Take the bottom part of the pole, which has a foot on the bottom, and connect it with the top part of the pole. You should hear a click as it slots into place when the bottom leg pin is connected to the hole of the upper leg.
- Take each assembled enclosure pole and place against the side of the trampoline leg, with the foot of the pole sitting on the ground. Secure it in place using two U-bolt clamps: one a couple of inches off the ground and the second below the leg extension joint. TIP: screw the U-bolt a bit and then the other before tightening. Otherwise, the U-bolt may get stuck lopsided.
- Use a wrench to tighten the bolts so that the poles are sturdy and secure.
- Unfold the enclosure net and attach the top edge by wrapping the Velcro straps around the caps on top of the poles once or twice in case the net seems loose.
- Wrap the middle Velcro straps on the net around the poles.
- Take the bottom straps with hooks and tuck them round the edge of the trampoline and under the springs, attaching the hooks to the v-net rings on the mat. Attach the straps so that they line up to the closest spring hook.
Once all the Velcro straps and hooks have been secured in place, your enclosure is ready to go!
Premium trampoline enclosure
To assemble thepremium trampoline enclosure, you will need to do a few more steps due to the rims on top of the enclosure. If you have small children using the trampoline, you may want to consider the premium enclosure to keep those little toes safe! Due to the top rims, the premium trampoline enclosure may also look a bit more structured compared to the standard model – however both will keep you safe when seeking thrills on ACON.
You will need two people for this and here’s how to assemble your premium enclosure:
- First, check that you have all the necessary parts. If any are missing, contact Acon’s customer support within 3 days of the discovery of the error.
- Next, secure the bottom part poles with legs pieces using the U-bolt clamps and tighten the bolts with a wrench. One clamp should sit a few inches off the ground and the second clamp should sit just below the leg extension joint.
- Take the upper part of the poles and slot them onto the secured bottom poles with the curved top facing inwards. You should hear a click from the pin in the bottom pole clicking into the hole in the upper pole. The clicking sound means that it has been installed correctly.
- Place the net on the outside of the mat, with the door positioned between two poles.
- Insert the top rims into the sleeve above the zipper of the door and continue. The length of the top rim determines which length of rim to insert.
- Slot the top rims into the holes of the caps. Put one of the metal rims first and the other after that. Once inside and overlapping, the screws can be tightened.
NOTE: The caps need to be in a way that the screw holes and the connector pin faces to the outside the trampoline.
- Install the bolts into the front of the connectors and screw in with an Allen key to secure the rims in place. Make sure that both rims are overlapping each other when fully inserted so that the bolts go through the holes in the rims.
- At this point you should have a metal circle and the caps need to be attached. Lift the caps with the net and gently push them on top of the poles. You should hear a click from the pin in the caps attaching to the hole at the top of the trampoline enclosure poles.
- On the bottom of the net, tie one of the straps to a v-ring on the mat under the padding then alternately weave the strap through the other v-rings and the holes at the bottom of the net. DO NOT use every hole on the net – just the ones you need. Note that the holes are tiny, so utilizing a needle (comes with the package) for threading should help with this step.
- When you get to the end of a strap, tie it to the v-ring.
Your premium enclosure is now ready for use.
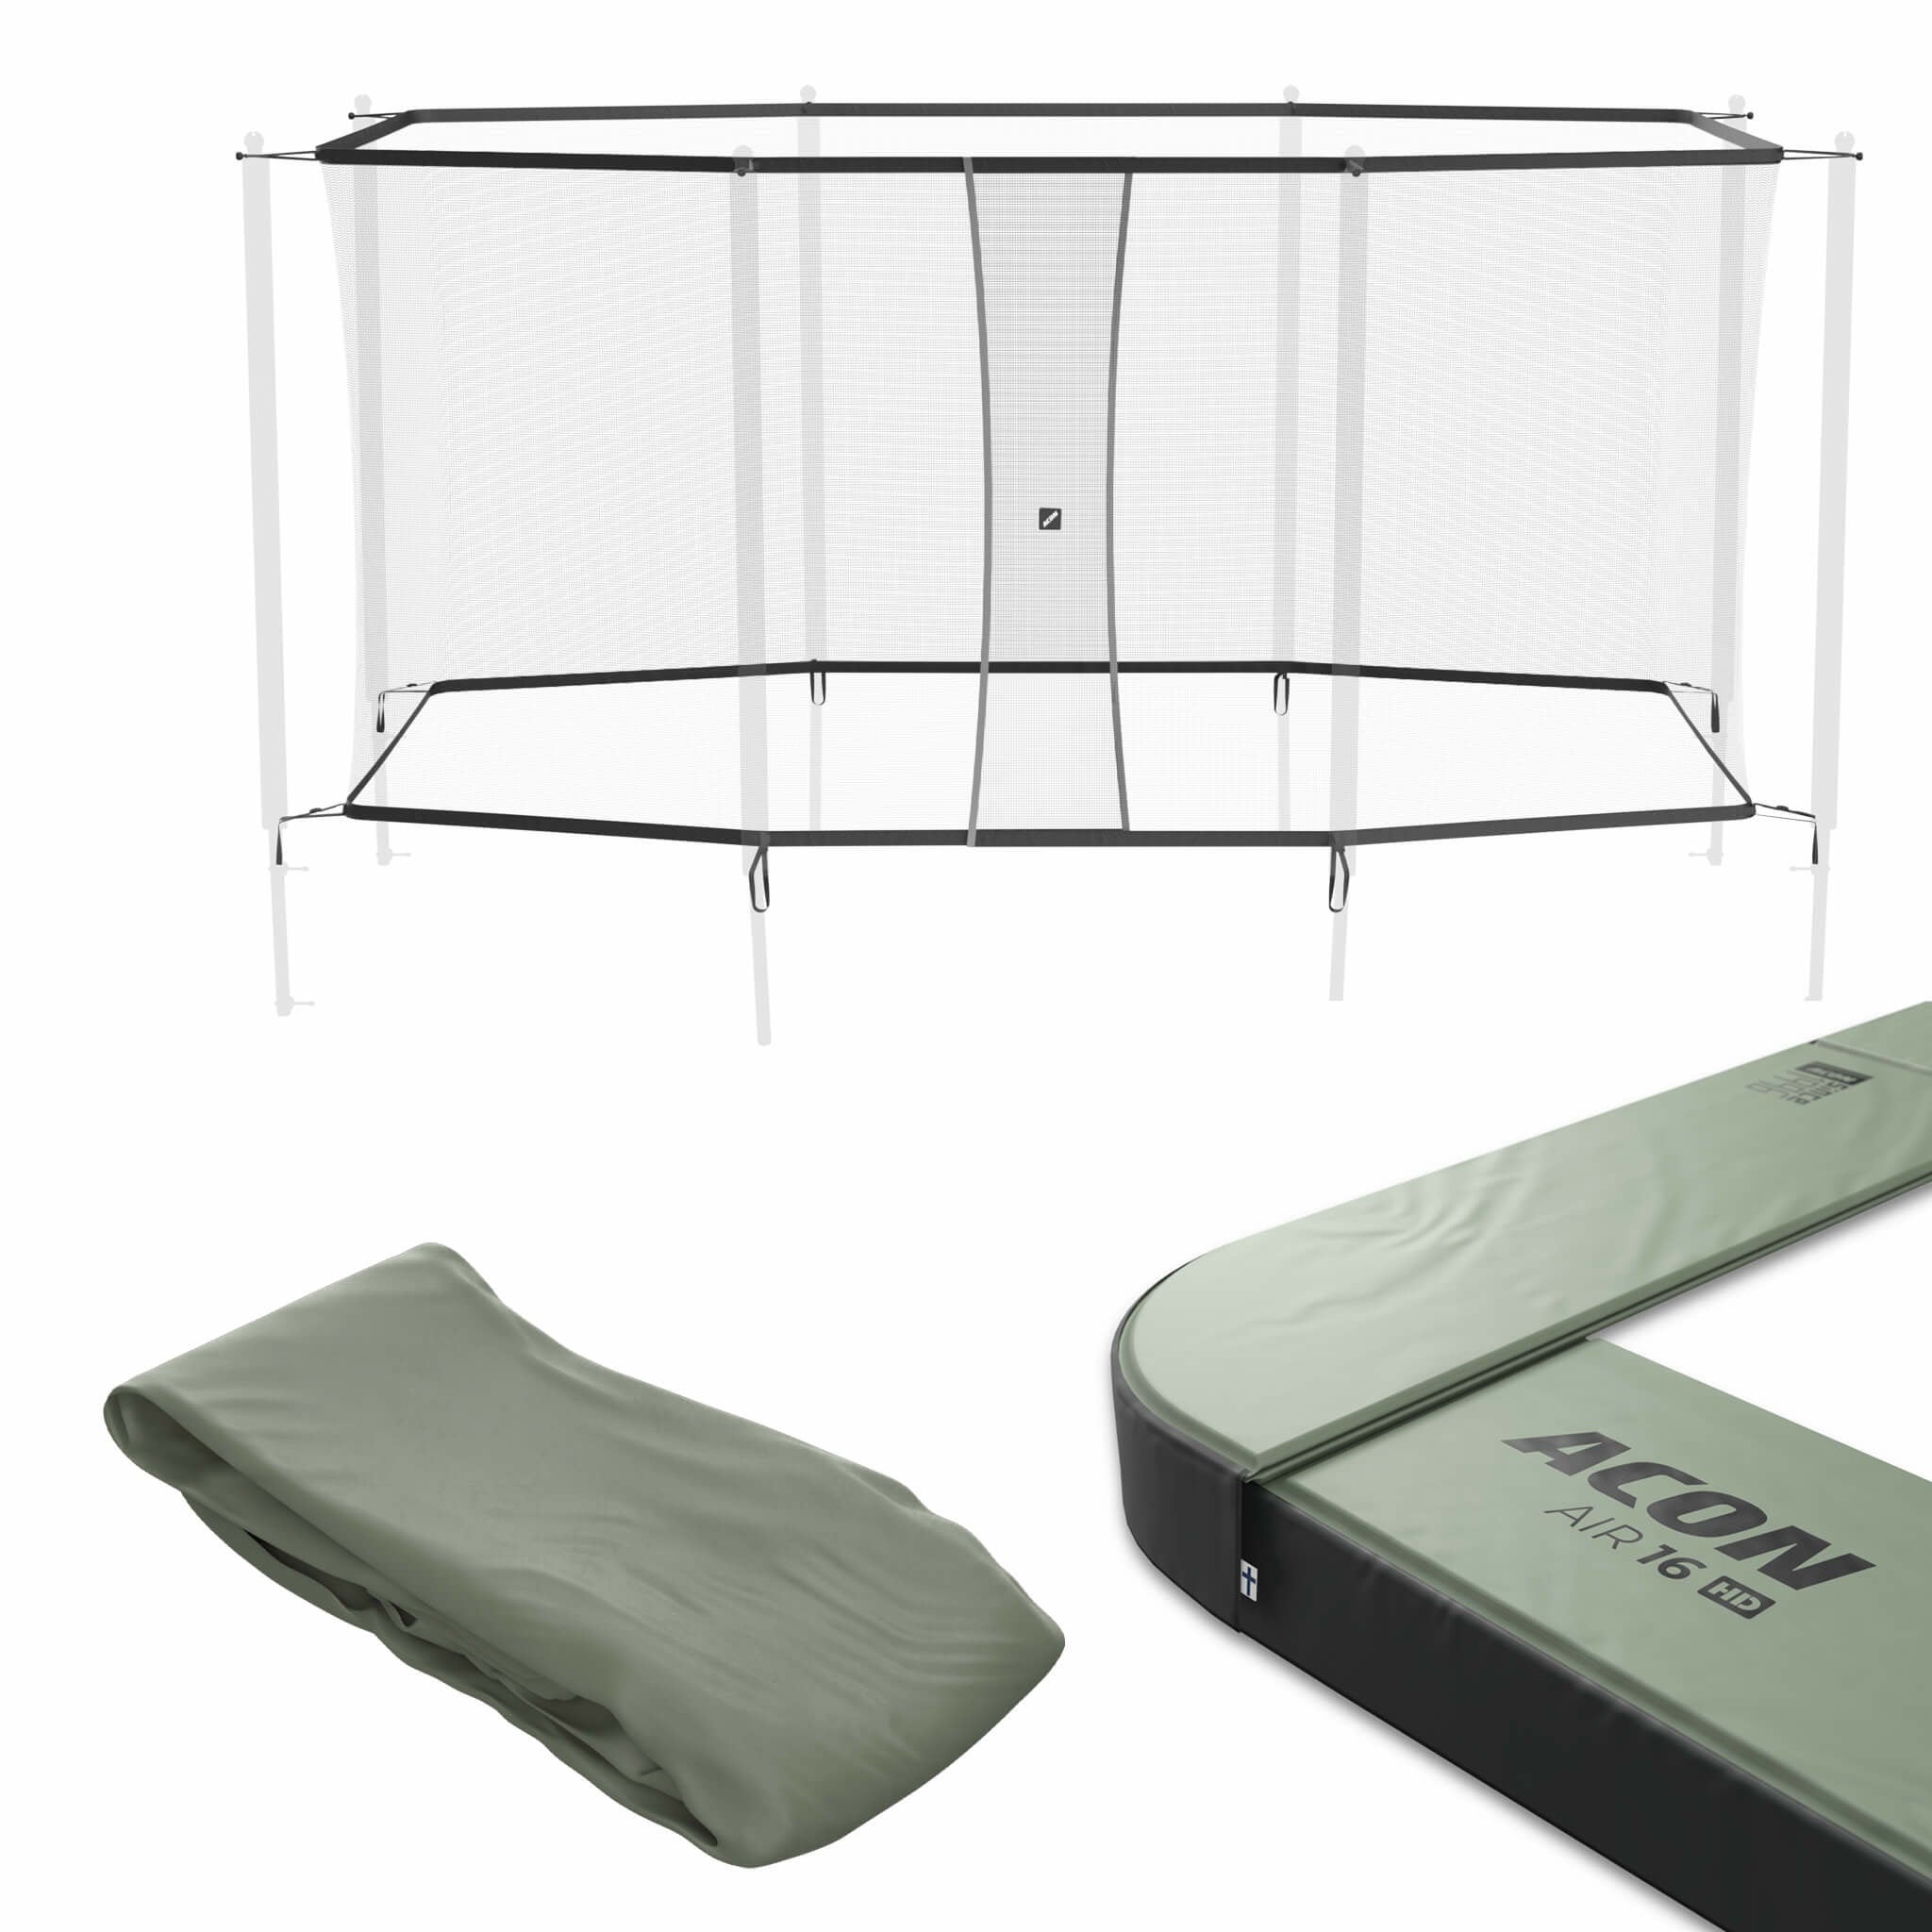
Trampoline enclosure for 13 and 16 Sport HD
Acon’s trampoline enclosure for our rectangular trampolines is a bit different compared to the trampoline enclosure for round models. Note that the trampoline enclosure poles in the long side of the trampoline and in the end side of the trampoline are different. The long side has 3 poles in total, the bottom, middle and top pole. The end only has two poles.
Acon’s trampoline enclosure for their 16 Sport HD rectangular trampoline. You will definitely need at least two people to assemble this enclosure and here’s how to do it:
- First, check that you have all the necessary parts. If any are missing, contact Acon’s customer support within 3 days of the discovery of the error.
- Next, remove the bolts at the very top of the legs (under the skirt of the padding).
- Attach all the lower poles to the legs with two bolts (long side of the trampoline has shorter lower poles than the end side). The upper bolt replaces the connection bolt, and the lower bolt is placed at the bottom of the lower pole.
- Once all lower poles have been attached to the legs, the middle poles should be attached to the previously attached lower poles, but only on the long side of the trampoline (the end side doesn’t have middle poles at all). Once these long side middle poles have been attached, all poles around the trampoline should now be the same height.
- Next up is to add the foams, caps and sleeves to the upper poles, that are not yet attached to the trampoline. Put the foam first and then the cap to the end of the pole without any holes.
- Push the pole sleeve over the cap and onto the pole. Note that the fit is tight on purpose so that the sleeve and net stay neatly in place.
- Once all the upper poles have the foams, caps and sleeves on, they are attached with the clips and clicking sounds to the already attached poles in the trampoline.
- After this is time to add the net. Attach the top of the net first by putting the plastic straps around the caps of the enclosure. Do this all the way around the trampoline. The bottom of the net is attached with belt looking straps, that should go around the enclosure poles.
- Continue all the way round the enclosure. You can put the opening on the short side or the long side of the enclosure.
When the enclosure is assembled correctly, the net lies around the middle of the padding, not at the edge of it. Your trampoline enclosure net is now ready to use.
Storing and maintenance of a trampoline enclosure
The better you store and maintain your trampoline enclosure, the longer it will last. It can be left in situ as Acon’s trampolines are designed to withstand all types of weather conditions. However, if you want to prolong the lifespan of the trampoline parts even more, the trampoline could be partially disassembled. With partial disassembly, we recommend storing the trampoline enclosure, safety pad, mat and springs.
Carry out regular maintenance checks, such as looking over the net for any holes and making sure all the nuts and bolts are still secure. Note that the trampoline enclosure safety net is recommended to be renewed every 3 years. For more maintenance tips, read our guide on maintenance and care of your trampoline enclosure.
Trampoline enclosure and safety
Buying a trampoline enclosure when you purchase your Acon trampoline is highly recommended. The net is high so that even the biggest of leaps are safe to do. Acon’s trampoline enclosures in 13 Sport HD and 16 Sport HD models have a double-layered door to prevent any fall outs as well as SmartMesh that is soft, UV-treated, stopping small fingers getting caught in the netting.
At ACON, we have a wide range of rectangular and round trampolines, with accompanying enclosures in different sizes, to suit everyone’s requirements. Start the backyard season with style by introducing the ACON to your yard!